Thursday, March 8, 2012

Tuesday, March 6, 2012

Spring!

With a high of 73 degrees today, it's hard to deny spring fever. I love love love spring. I can't wait to see all the things that were seemingly dead now come forth bursting with life!

Happy Springtime!


Sunday, March 4, 2012

ice cream, you scream! homemade ice cream that is...

A friend lent this book out to me and we tried out some of the recipes this weekend. They were great! We made "Salted Caramel ice cream" and "Cognac with roasted pecans". Mmm...

Salty Caramel Ice Cream
Makes about 1 quart

INGREDIENTS
2 cups whole milk
1 tablespoon plus 1 teaspoon cornstarch
1 1/2 ounces (3 tablespoons) cream cheese, softened
1/2 teaspoon fine sea salt
1 1/4 cups heavy cream
2 tablespoons light corn syrup
2/3 cup sugar
2 teaspoons vanilla extract


Mix about 2 tablespoons of the milk with the cornstarch in a small bowl to make a smooth slurry.

Whisk the cream cheese and salt in a medium bowl until smooth.

Mix the cream with the corn syrup in a measuring cup with a spout.

Fill a large bowl with ice and water.

Heat the sugar in a 4-quart saucepan over medium heat until it is melted and golden amber in color (see note below).

Danger! This is the dry-burn technique. I don't add water to the sugar before putting it on the heat, as some chefs do. Caramelizing sugar dry means it goes faster, but you have to watch it more closely and be ready with your cream. Here is an overview of what you are going to do:

Stand over the pan of sugar with a heatproof spatula ready, but do not touch the sugar until there is a full layer of melted and browning liquid sugar on the bottom with a smaller layer of unmelted white sugar on the top. When the edges of the melted sugar begin to darken, use the spatula to bring them into the center to help melt the unmelted sugar. Continue stirring and pushing the sugar around until it is all melted and evenly amber in color — like an old penny. When little bubbles begin to explode with dark smoke, give the sugar another moment and then remove from the heat. Immediately but slowly pour about 1/4 cup of the cream and corn syrup mixture into the burning-hot sugar. Be careful! It will pop and spit! Stir until it is incorporated, then add a bit more cream and stir, then continue until it is all in.


Remove from the heat and, stirring constantly, slowly add a bit of the cream and corn syrup mixture to the caramel: It will fizzle, pop, and spurt.

Stir until well combined, then add a little more and stir. Keep adding the cream a little at a time until all of it is incorporated.

Return the pan to medium-high heat and add the milk.

Jeni must have forgot this step, stop for a bit to play with a cute kitty. It'll make the ice cream taste better, it just does.

Bring to a rolling boil and boil for 4 minutes. Strictly 4 minutes!

Remove from the heat and gradually whisk in the cornstarch slurry.

Bring back to a boil over medium-high and cook, stirring with a heatproof spatula, until slightly thickened, about 1 minute. Remove from the heat. If any caramel flecks remain, pour the mixture through a sieve.

Gradually whisk the hot milk mixture into the cream cheese until smooth. Add the vanilla and whisk.

Pour the mixture into a 1-gallon Ziploc freezer bag and submerge the sealed bag in the ice bath. Let stand, adding more ice as necessary, until cold, about 30 minutes.

While you wait the half hour, we flipped through all her other recipes.

Caleb picked *all* the strange ones

Pour into frozen canister and spin until thick and creamy.

Pack the ice cream into a storage container, press a sheet of parchment directly against the surface, and seal with an airtight lid.

Freeze in the coldest part of your freezer until firm, at least 4 hours.


The Salted Caramel was amazing!!

We then made Cognac with roasted pecans, which didn't freeze in time to try the night we made it, but I tried it just now and it was great too!

Try making your own ice cream, it's not that difficult and it's so much tastier than store bought! Happy ice creaming!

Saturday, March 3, 2012

Goodbye hair!!!

WARNING: this post may contain disturbing images. view at your own discretion.

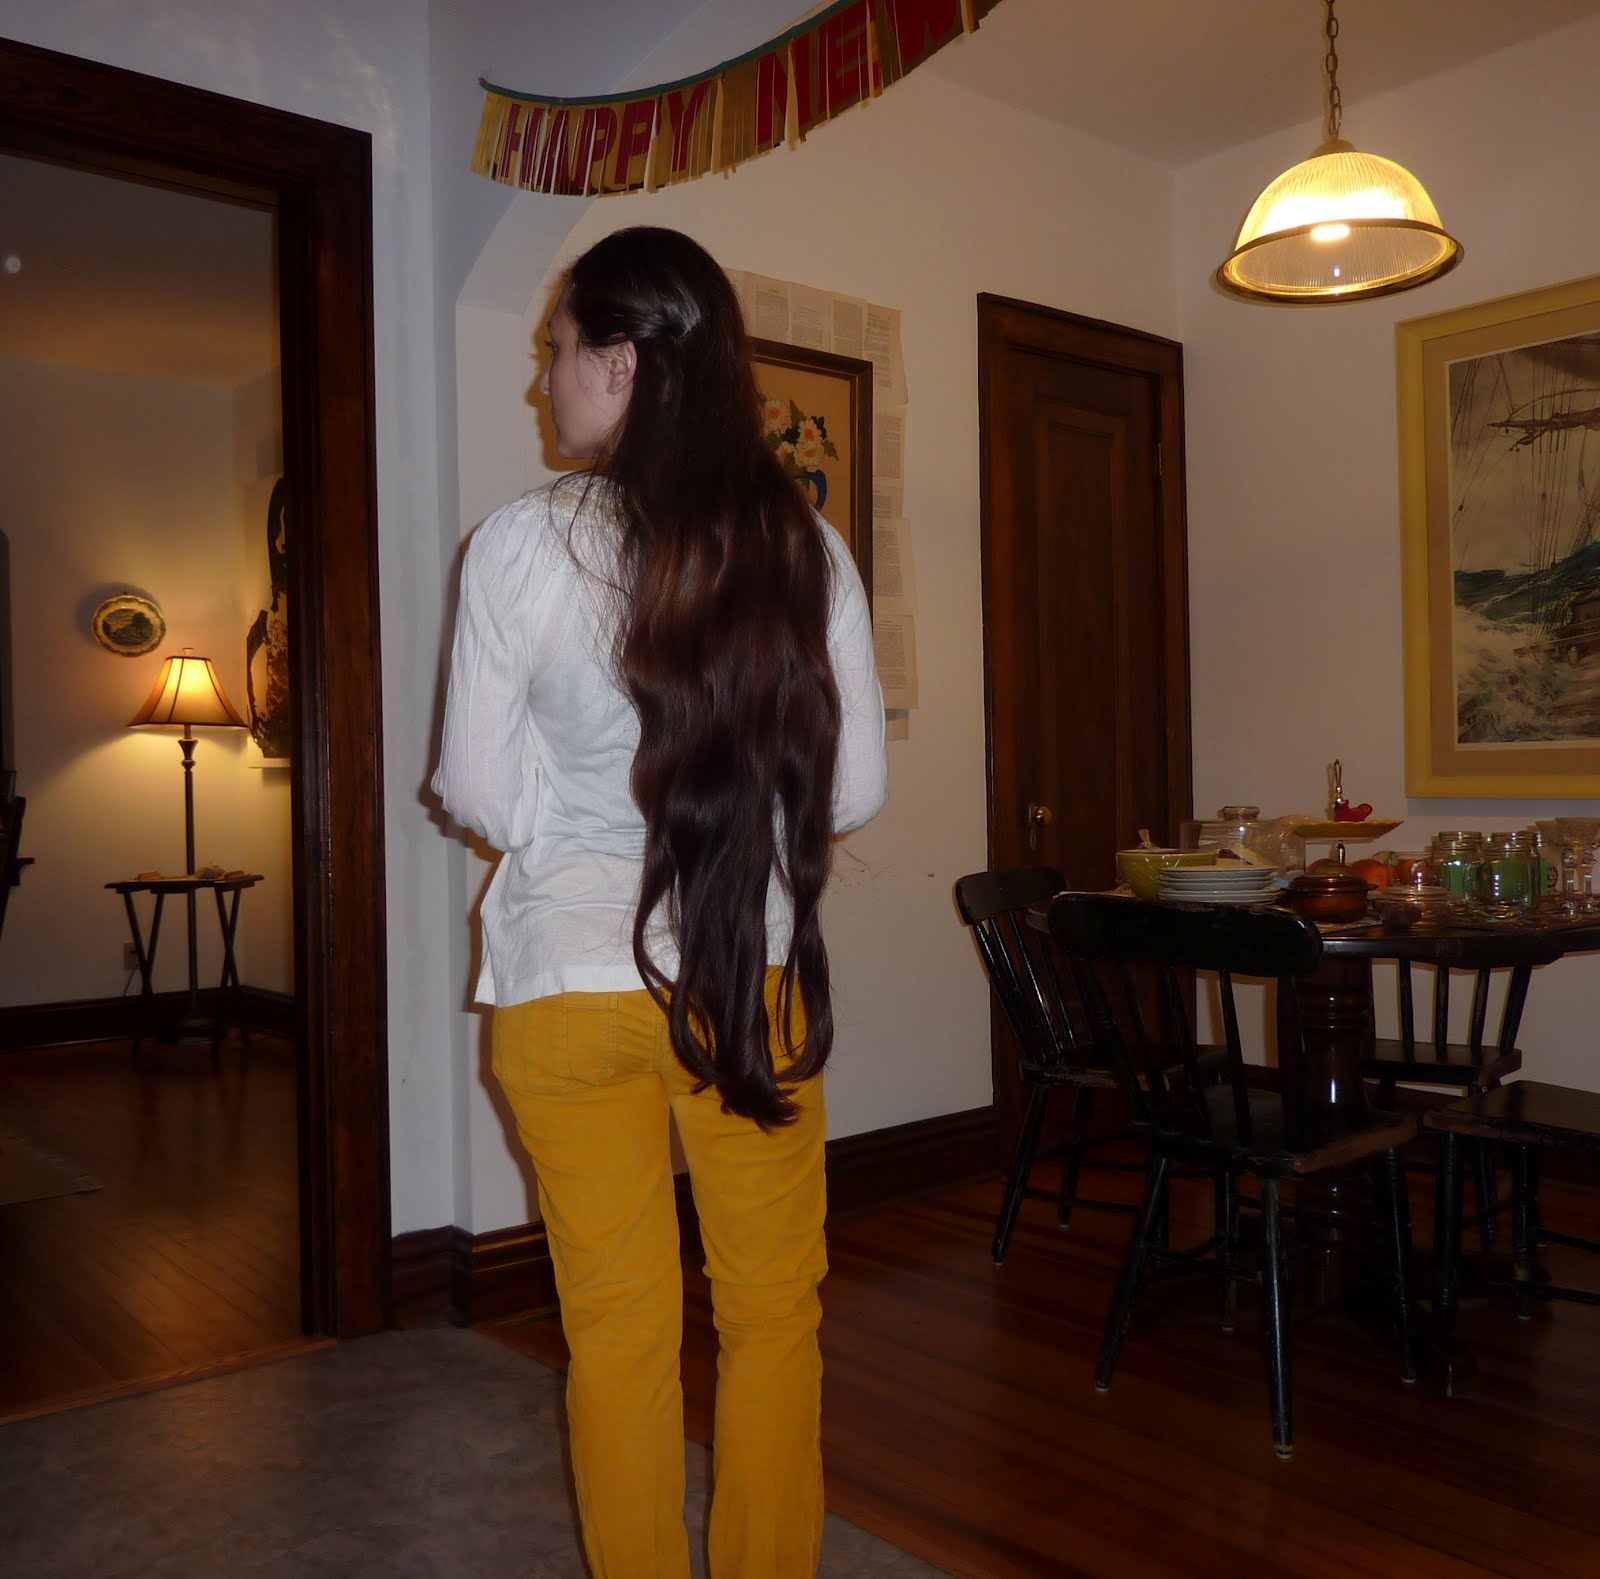
It has been *6 years* since my last hair cut and today I decided it was time for another. I loved my long hair but taking care of it became burdensome and I think my poor husband was tired of being accidentally slapped in the face with my mane during the night. I am ready for a change and curious to see what it's like to get ready in the morning without hair past my waist!

(Jonathan cannot recognize me from the back, he's in a bit of a state of shock right now)

Yay! Just back from the stylist! Feeling so much lighter!!

Now I know this changes everything. I admit that I am letting down quite of few people. First being my little following of 9-12 year old girls at our church. Every time I wore my hair down at church, I would look behind me and sure enough, a few pews back would be the group of little girls huddled and gawking at its length. I felt like such a princess! They may shun me now...

Second, I'm letting down all the adorable old people I work with. They would *always* say "Oh my, what beautiful hair!! Never ever cut it dear!" I'm sorry to say they will be disappointed. But I can tell you, I won't be missing my braid being pulled repeatedly by the creepy old guy as I walk him to the exam room. What do you say when someone does that?!

(I warned you some images may be disturbing)

When my stylist gave this to me in a small baggie, I felt like I was carrying a small trapped woodland animal out to my car. it was strange. I will donate my hair to locks of love. I thought about selling it and maybe buying a scooter or something, but it's probably best to give it away.

Well there you have it. Ombre color may be next week. We'll see!

Two-toned fingerless gloves

I finished these two-toned fingerless gloves for a friend's birthday next weekend. She found something similar on etsy that she liked and I just knit my own for her!

Happy Birthday friend!